If you’re still running your WordPress site on HTTP, you’re not just behind — you’re at risk. Modern browsers mark non-HTTPS sites as “Not Secure,” scaring visitors away and hurting your SEO.
But switching to HTTPS isn’t as simple as flipping a switch — doing it wrong can break images, internal links, or even cause redirect loops.
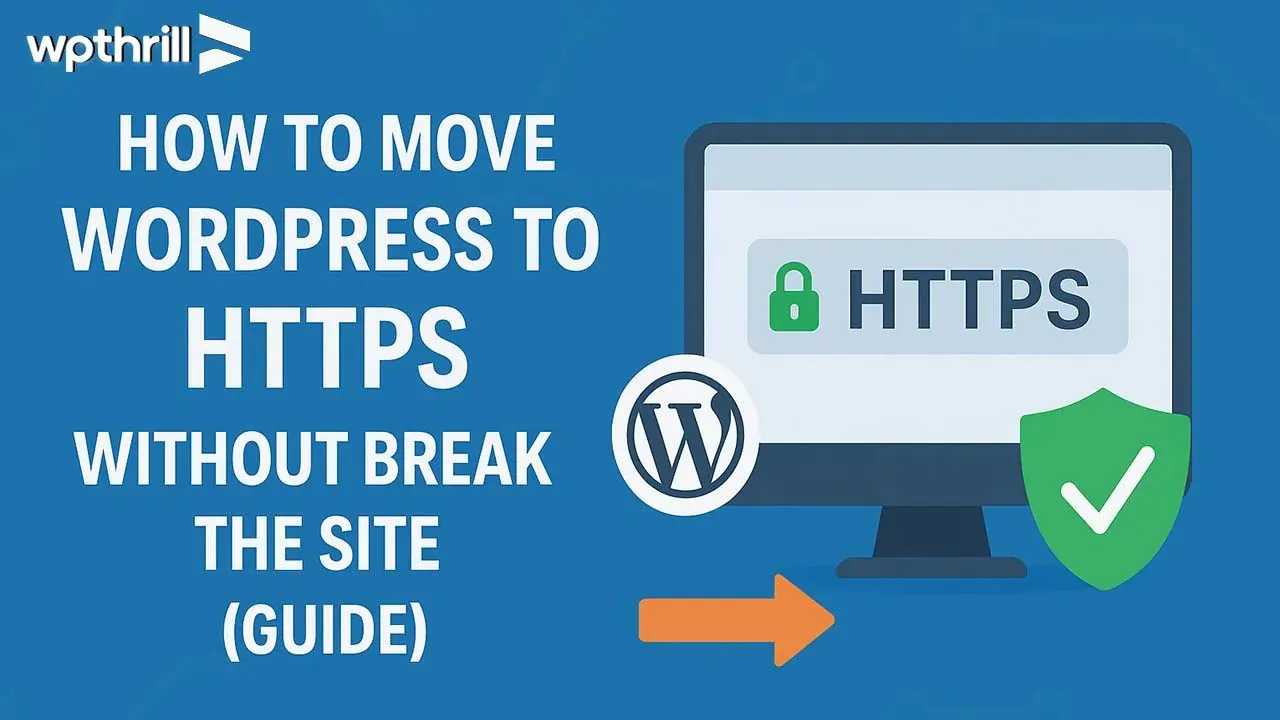
In this complete guide, we’ll walk you through how to move WordPress to HTTPS without breaking your site, ensuring smooth migration, no downtime, and no SEO loss.
What is HTTPS and Why It Matters
HTTPS (HyperText Transfer Protocol Secure) encrypts data between your visitor’s browser and your website server.
Instead of sending data in plain text like HTTP, HTTPS uses SSL/TLS encryption to protect sensitive information such as login details, forms, and payments.
Benefits of Moving to HTTPS
-
✅ Protects user data from hackers
-
✅ Boosts Google search rankings (confirmed ranking signal)
-
✅ Builds trust with the “Secure” padlock icon
-
✅ Required for Google Analytics 4 and many APIs
-
✅ Enables HTTP/2 for faster loading
Step-by-Step: Move WordPress to HTTPS Without Breaking Anything
Step 1: Get an SSL Certificate
You can get SSL for free or through your hosting provider.
Option 1: Free SSL (Let’s Encrypt)
Most hosts now support Let’s Encrypt SSL for free.
Go to your hosting control panel and enable it.
Option 2: Premium SSL
If you handle sensitive data (like eCommerce or memberships), use a premium SSL from:
-
Namecheap
-
DigiCert
-
Sectigo
-
Cloudflare Pro
Once installed, verify by visiting:https://yourdomain.com
If it shows a padlock, SSL is working.
Step 2: Update WordPress & Site URL
Go to your WordPress dashboard:
Settings → General
Change:
-
WordPress Address (URL):
https://yourdomain.com -
Site Address (URL):
https://yourdomain.com
Click Save Changes.
Step 3: Update .htaccess for HTTPS Redirects
Edit your .htaccess file (in your site root directory) and add this code above existing WordPress rules:
💡 Tip: Always take a backup before editing .htaccess.
Step 4: Update wp-config.php
Add this snippet right above the line /* That's all, stop editing! */ in wp-config.php:
This ensures WordPress detects HTTPS properly, especially behind reverse proxies or Cloudflare.
Step 5: Replace Old HTTP URLs in Database
Your posts, images, and internal links may still use http://.
Use a plugin like:
-
Better Search Replace
-
Velvet Blues Update URLs
Or run via WP-CLI:
This updates all internal links without touching the GUIDs.
Step 6: Fix Mixed Content Warnings
Mixed content happens when HTTPS pages still load resources (like images or scripts) over HTTP.
Use Really Simple SSL — it auto-fixes mixed content safely.
Or manually update your theme files:
Always use WordPress functions like get_template_directory_uri() instead of hardcoded paths.
Step 7: Update CDN, Cache, and API URLs
If you’re using CDN or caching plugins (like Cloudflare, WP Rocket, or LiteSpeed Cache):
-
Purge all caches
-
Update CDN URLs to use HTTPS
-
Reissue SSL on your CDN
Step 8: Update Google Search Console & Analytics
After switching to HTTPS:
-
Add your new HTTPS property in Google Search Console
-
Submit your updated sitemap
-
Update your Google Analytics property URL
This ensures SEO signals and tracking continue seamlessly.
Step 9: Check Redirect Chains
Use tools like:
Your site should return a single 301 redirect from HTTP → HTTPS without loops.
Step 10: Update External Integrations
If your site uses external APIs, webhooks, or payment gateways (Stripe, PayPal, etc.), update them to use HTTPS URLs.
Step 11: Force HTTPS in wp-config.php (Optional)
You can enforce admin HTTPS connections:
This makes sure even your wp-admin and login pages are always served over HTTPS.
Bonus Tips to Avoid Common HTTPS Migration Mistakes
-
Don’t use both HTTPS and HTTP — redirect everything to HTTPS
-
Always use 301 redirects (not 302)
-
Take full site backup before starting
-
Test on a staging site first if possible
-
Recheck your robots.txt after migration
Example of a Complete .htaccess File for HTTPS
Here’s a safe working example:
FAQs About Moving WordPress to HTTPS
1. Will switching to HTTPS hurt my SEO?
No — in fact, it boosts SEO. Just make sure you set up 301 redirects properly and update all internal links.
2. Do I need to update plugins after switching to HTTPS?
Most modern plugins work automatically. However, it’s good to clear cache and update plugin URLs if needed.
3. Why am I still getting mixed content warnings?
It means some image or script URLs are still HTTP. Use Really Simple SSL or browser DevTools to find and fix them.
4. Is HTTPS slower than HTTP?
No. HTTPS with HTTP/2 is actually faster due to multiplexing and compression.
5. Do I need to buy an SSL certificate?
Not necessarily — free SSL from Let’s Encrypt is enough for most websites unless you require enterprise-grade validation.
Conclusion
Migrating your WordPress site to HTTPS is no longer optional — it’s a must for SEO, user trust, and security.
By following the steps above, you can switch your site from HTTP to HTTPS without breaking links or losing traffic.
Take a full backup, apply redirects carefully, and test everything — within minutes, your site will be secure and SEO-friendly with that beautiful 🔒 lock icon.