If you have ever uploaded a photo to your website, you have used the WordPress Media Library. But did you know that most beginners use it wrong? In fact, a messy media library is the number one cause of broken images and slow loading speeds. From my experience working on WordPress sites, I’ve seen websites slow down by 30–40% simply because large 4000px images were uploaded directly from a phone or camera without resizing or compression. Media management alone can drastically impact performance.
Welcome to WPThrill. This tutorial is part of our Complete WordPress Beginner to Expert Series, where we walk you step-by-step from basic dashboard understanding to building and optimizing a fully deployed website.
If you’re new to WordPress, start from the beginning here: Complete WordPress Tutorial for Beginners to Experts (2026 Guide)
In this guide, we are going to demystify the WordPress Media Library for 2026. Whether you are starting a blog, running an online store, or managing a business site, this tutorial will turn you into a media management pro.
Let’s start with the basics and work our way up to advanced tips. This tutorial builds on our previous lesson about Categories vs Tags and prepares you for advanced content creation in the next chapter.
What is the WordPress Media Library? (2026 Definition)
The WordPress Media Library is your website’s central file management system. Think of it as a dedicated folder on your computer, but built directly into your WordPress dashboard. Every image, PDF, video, or audio file you upload lives here.
In 2026, the Media Library does more than just store files. It:
-
Creates multiple sizes of every image you upload (thumbnail, medium, large).
-
Offers AI-powered alt text generation for accessibility and SEO.
-
Supports modern formats like WebP and AVIF automatically.
-
Integrates with block editor for seamless drag-and-drop publishing.
Why Should You Care?
Every file on your server affects your site’s performance. Google’s Core Web Vitals in 2026 penalize slow sites. If you’re not familiar with how these performance metrics work, read our complete guide on Core Web Vitals optimization for WordPress.
How to Access Your Media Library
Accessing your files is simple. You have two main pathways depending on what you are doing.
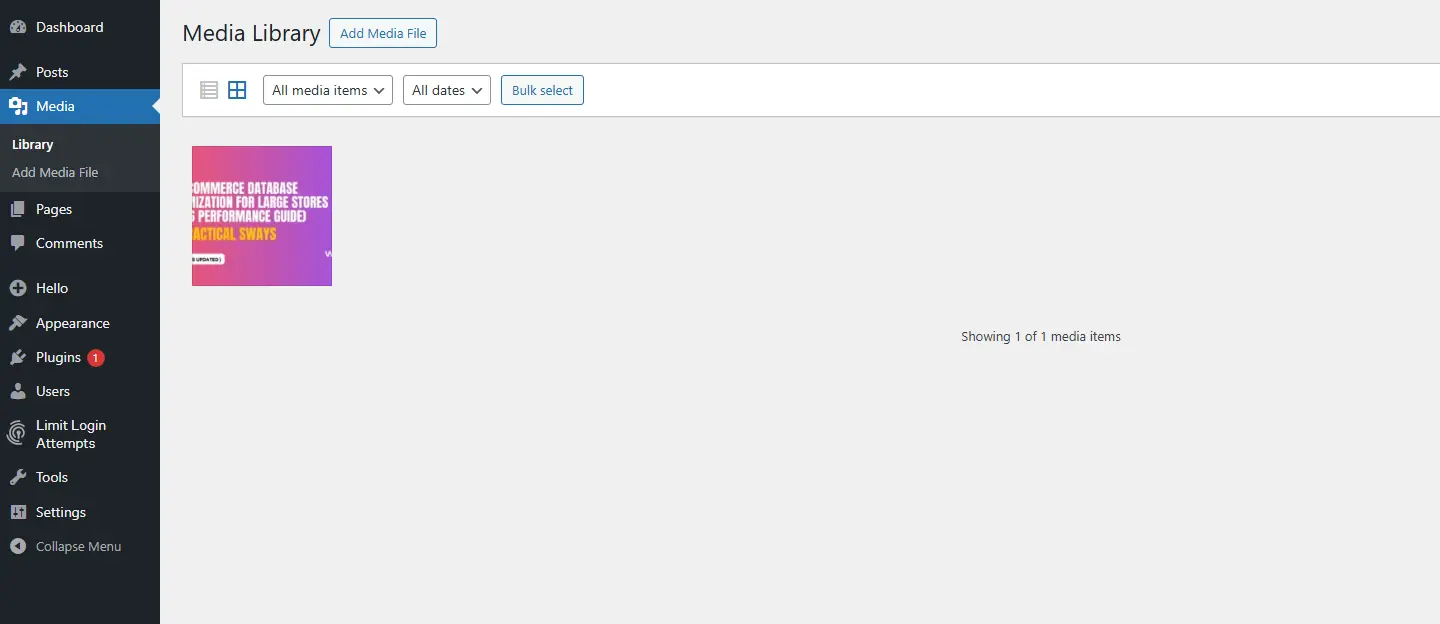
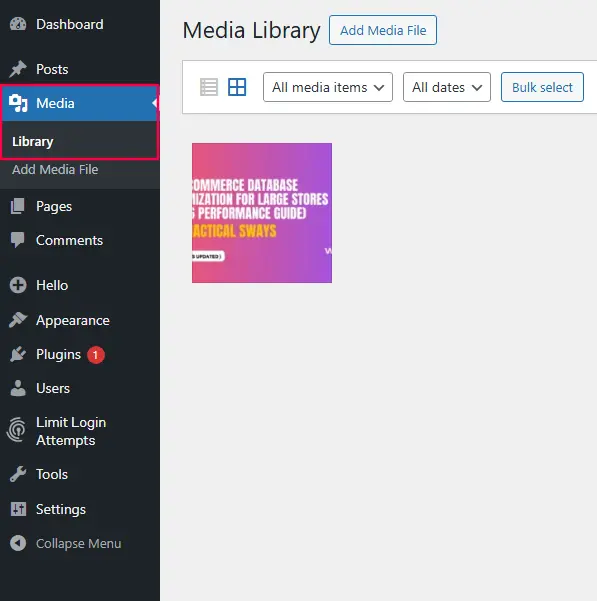
Method 1: Direct Access
From your WordPress dashboard, look at the left-hand sidebar menu. Hover over Media and click on Library. This takes you to the full-screen management view.
Method 2: Contextual Access (While Editing)
When you are writing a blog post or building a page, click the Add Media Button (usually located above the block editor). This opens a lightbox version of your library without leaving your edit screen. This is the fastest way to insert images into your content.
Uploading Files: A 2026 Step-by-Step Workflow
Uploading is easy. Uploading correctly requires a few smart habits. Follow this workflow every time.
Step 1: Prepare Locally (The 30-Second Rule)
Before you even log in to WordPress:
-
Rename your file: Change
DSC_4521.jpgtoblue-widget-product.jpg. Descriptive filenames help search engines understand your images. -
Resize if needed: If your image is wider than 2500px, scale it down. Most content areas are 800-1200px wide.
-
Compress: Use a tool like TinyPNG or ShortPixel to reduce file size without losing quality. For a complete step-by-step guide, read our detailed tutorial on How to Optimize WordPress Images Without Losing Quality.
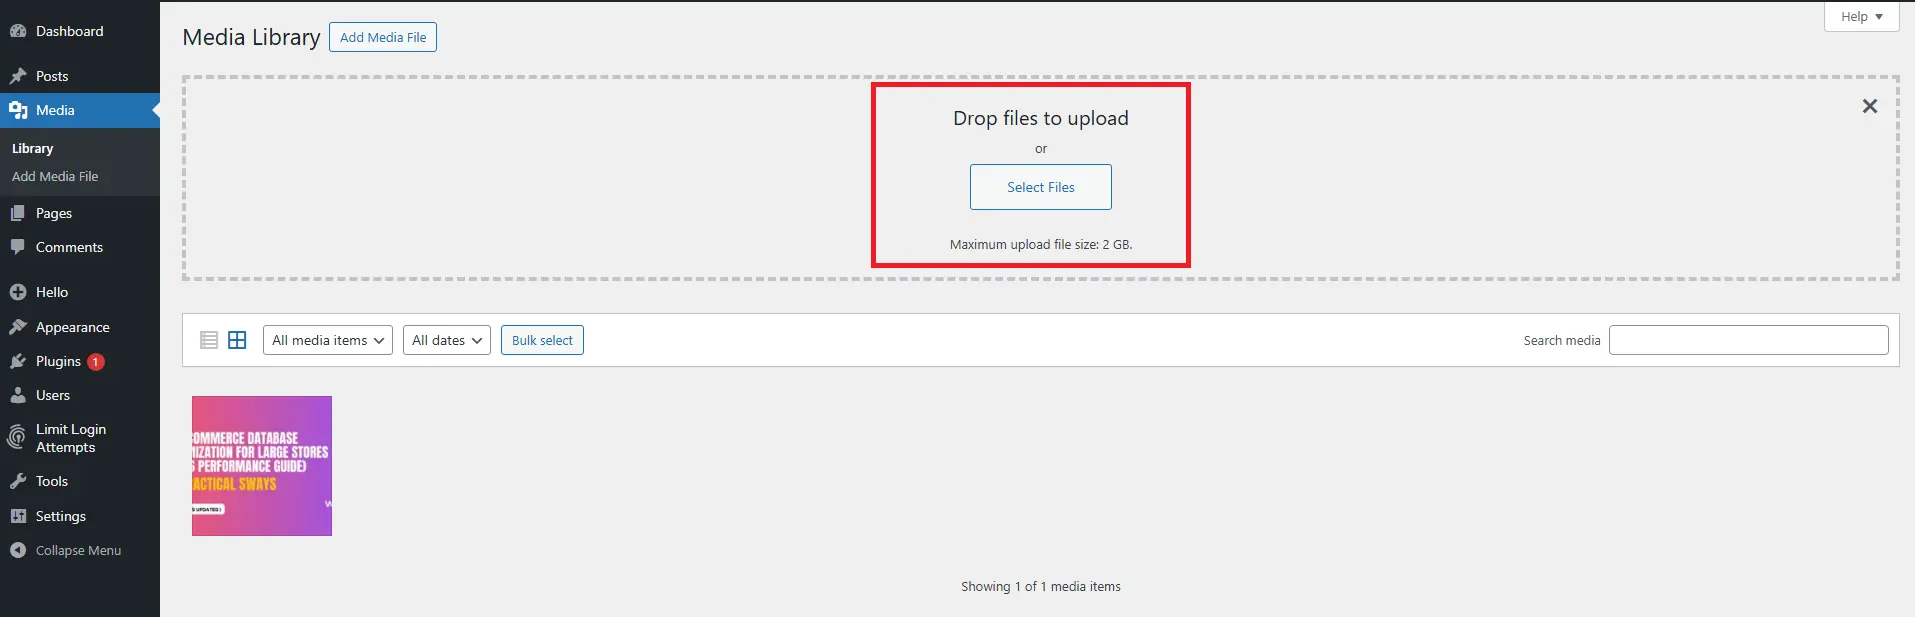
Step 2: Upload via Drag and Drop
Navigate to Media > Add New. Simply drag files from your computer folder directly onto the browser window. You will see a progress bar showing upload status.
Step 3: Add Metadata Immediately
Once uploaded, click on the image to open the attachment details. Do not close this window yet. This is where you add the information that makes your images searchable.
Mastering the Attachment Details Pane (2026 Features)
When you click any image in the library, a detailed sidebar appears. In 2026, this panel includes powerful new tools.
1. Filename & URL
This shows the exact server location of your file. You can copy the URL here if you need to link directly (useful for PDF downloads).
2. Title
The title is for internal reference. By default, it pulls from your filename. You can change it to something more descriptive.
3. Caption
If you add text here, it will appear below the image on your live site (if your theme supports captions). Great for photo credits or explanatory notes.
4. Alt Text (The 2026 Game-Changer)
This is the most important field for SEO and accessibility.
Alt text serves two purposes:
-
Accessibility: Screen readers read alt text aloud to visually impaired users.
-
SEO: Search engines use alt text to understand image content.
In 2026, WordPress includes a “Generate with AI” button (the sparkle icon). Click it, and WordPress analyzes the image and suggests accurate alt text instantly.
Example: Upload a photo of a chocolate cake on a wooden table. The AI might suggest: “Homemade chocolate cake with frosting on a rustic wooden table.”
Always review AI suggestions, but this feature saves hours of manual typing.
5. Description
This is a longer description rarely used in modern themes but available for custom designs.
6. File Metadata
Shows dimensions (e.g., 1200×800) and file size (e.g., 150 KB). If you see “2.5 MB,” your image needs compression.
Organizing Your Media Library for Sanity
By default, WordPress organizes files by date (uploads/2026/02/). That works, but finding specific images later becomes a nightmare.
Native Organization Tools
On the library screen, use the dropdown filters to sort by:
-
All media items
-
Images
-
Audio
-
Video
-
Unattached (files not used anywhere on your site)
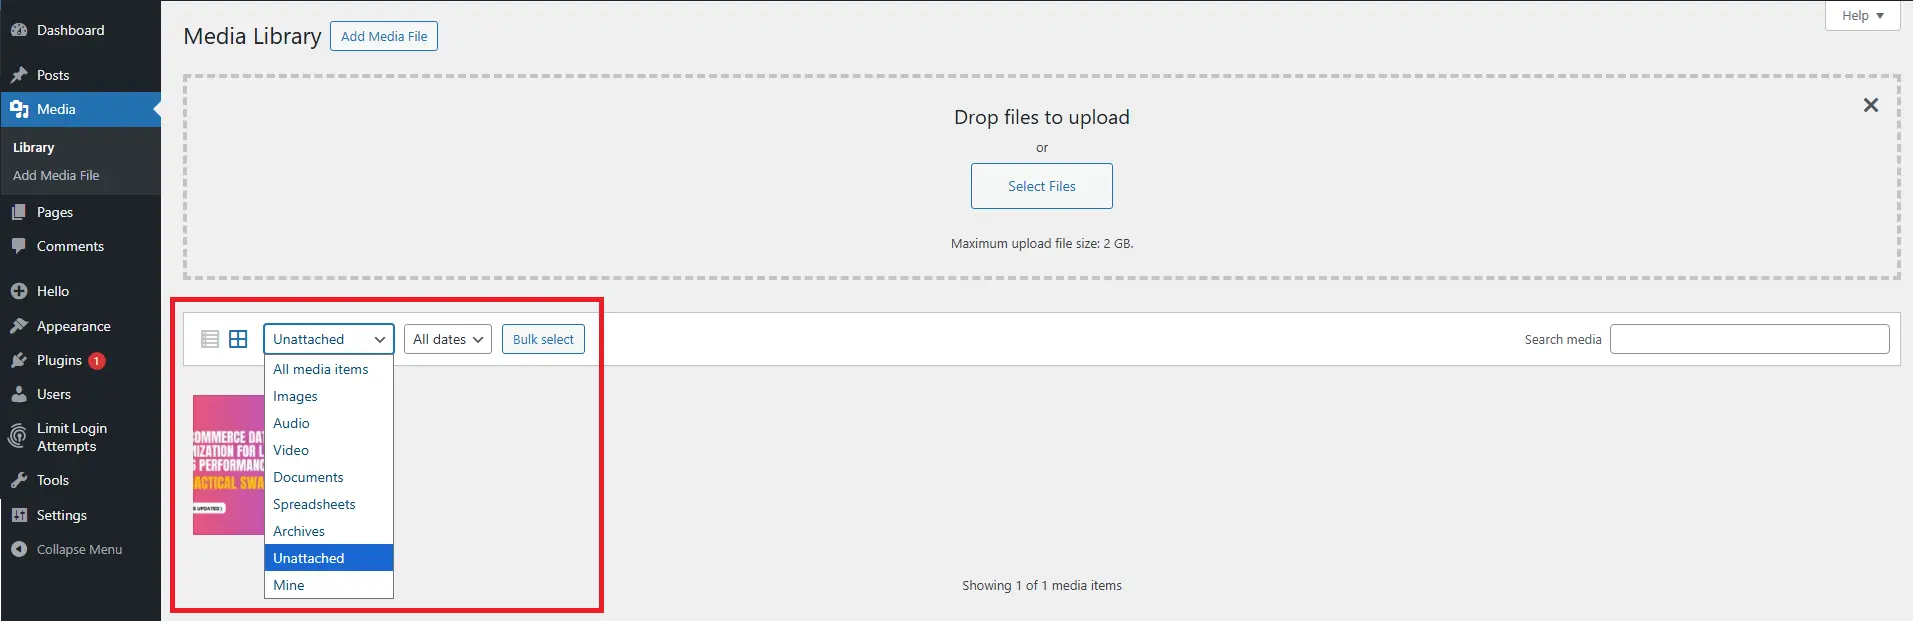
Pro Tip: The “Unattached” filter is gold. These files waste space and slow backups. If you don’t need them, delete them.
Advanced Organization (Folders)
WordPress still lacks native folders in 2026, but plugins solve this. We recommend FileBird or Enhanced Media Library. These add a folder sidebar, letting you drag files into categories like:
-
Client Logos
-
Product Photos 2026
-
Blog Headers
-
Backgrounds
The Replace Feature: Update Images Without Breaking Links
Imagine you published a product photo, but the packaging changed. If you delete the old image and upload a new one, you must reinsert it everywhere. That is inefficient.
Use the Replace feature (available via plugins like “Enable Media Replace” or built into some managed hosts).
-
Find the image in your library.
-
Click to open attachment details.
-
Look for “Replace” or “Upload new version.”
-
Upload your new file.
-
Crucial Choice: Choose “Replace and keep filename” so all existing links continue working.
Your post updates instantly without editing a single line of content.
Bulk Editing: Save Hours of Work
Uploaded 50 product images but forgot alt text? No problem.
-
Go to Media Library and switch to List View (icon in top toolbar).
-
Check the boxes next to images you want to edit.
-
From Bulk Actions dropdown, select Edit and click Apply.
-
A sidebar opens allowing you to add Titles, Captions, Alt Text, or Descriptions to all selected images at once.
This feature alone can save you hours when launching a new site.
Understanding Image Sizes and Regeneration
When you upload an image, WordPress automatically creates several copies:
-
Thumbnail: Usually 150×150px (cropped square)
-
Medium: Typically 300×300px
-
Large: Often 1024×1024px
-
Full Size: Your original
This ensures your site serves appropriately sized images for different layouts. However, if you change themes or update your settings, old images may not have the new sizes.
Best Image Formats for WordPress (2026 Comparison)
Choosing the right format directly affects speed and SEO.
| Format | Best For | File Size | Transparency | Recommended? |
|---|---|---|---|---|
| JPEG | Blog photos | Medium | ❌ | ✅ |
| PNG | Logos / graphics | Large | ✅ | ⚠ Only if needed |
| WebP | Most website images | Small | ✅ | ✅ Highly Recommended |
| AVIF | Maximum compression | Very Small | ✅ | ✅ Advanced users |
Recommendation: Use WebP for most uploads. Use AVIF if your hosting and plugins fully support it.
How to Regenerate Thumbnails
-
Install a free plugin like Regenerate Thumbnails.
-
Run the tool.
-
It recreates all image size variations based on your current settings.
You do not need to re-upload originals.
Media Library Maintenance: 2026 Checklist
To keep your site fast and clean, perform this quarterly audit.
-
Delete Unattached Files: Filter by “Unattached” and remove anything unused.
-
Check File Sizes: Scan for images over 500KB and compress or replace them.
-
Convert to WebP/AVIF: Use a plugin like WebP Express to serve modern formats. This cuts file sizes by 30-50% with no quality loss.
-
Update Old Alt Text: Use the AI generator to improve alt text on older posts.
-
Run a Database Cleanup: Plugins like WP-Optimize remove orphaned metadata. You can follow our complete WordPress database optimization guide for a deeper cleanup strategy.
Common Media Library Problems (And Fixes)
“Failed to upload. Unable to create directory.”
Fix: This is a file permission error. Contact your host or use FTP to set your /wp-content/uploads/ folder permissions to 755.
Images Not Appearing After Moving Hosts
Fix: Your database still points to the old URL. Use a plugin like “Better Search Replace” to update URLs in the database.
Media Library Not Loading (Spinning Wheel)
Fix: Usually a memory issue. Increase WordPress memory by adding define('WP_MEMORY_LIMIT', '256M'); to your wp-config.php file. If the issue persists, follow our complete troubleshooting guide: WordPress Media Library Not Showing Images – Step-by-Step Fixes If you’re unsure how to secure wp-config.php, see our beginner guide to securing WordPress core configuration files.
Images Blurry on Front End
Fix: This usually happens when a smaller image size (like Thumbnail) is stretched inside your layout. Re-insert the image and choose “Medium,” “Large,” or “Full Size” depending on your theme’s content width.
If you are running an online store and your product images look blurry specifically on shop or product pages, follow our complete guide: How to Fix WooCommerce Product Images Blurry (Step-by-Step Guide)
Quick Media Optimization Checklist
Before publishing any post, make sure you:
-
Rename images with descriptive keywords
-
Resize images below 2500px
-
Compress images under 300–500KB
-
Add accurate alt text (AI + manual review)
-
Delete unattached files quarterly
-
Serve images in WebP or AVIF
Bookmark this checklist and use it every time you upload media.
FAQs
Q: Where are WordPress images stored?
A: Images are stored in the /wp-content/uploads/ folder on your server, organized by year and month (e.g., /uploads/2026/02/).
Q: What is the best image format for WordPress?
A: In 2026, WebP and AVIF are best. They offer superior compression with high quality. Use JPEG for photos and PNG only for images needing transparency.
Q: Why can’t I upload images to WordPress?
A: Common causes: file permissions (fix with 755 on uploads folder), plugin conflicts (deactivate plugins to test), or memory limits (increase WP memory).
Q: How do I add alt text to existing images?
A: Use bulk edit in list view. Select images, choose Bulk Edit, and fill the Alt Text field. Save changes.
Q: Does deleting an image from the library remove it from posts?
A: Yes. If you delete an image used in a post, that post will show a broken image icon. Always use the Replace feature instead of delete.
Q: Can I organize images into folders?
A: Not natively, but plugins like FileBird add folder functionality to the Media Library.
Conclusion
The WordPress Media Library is more powerful than most beginners realize. It is not just a storage folder — it directly impacts your website speed, SEO rankings, accessibility, and professionalism.
Beginners upload images.
Professionals manage digital assets strategically.
If you apply the optimization, organization, and maintenance techniques covered in this guide, your WordPress site will remain faster, cleaner, and more scalable long term.
Next Tutorial: How to Plan a WordPress Website: Step-by-Step Beginner Blueprint for 2026
Previous Tutorial: Categories vs Tags in WordPress – SEO Best Practices Explained